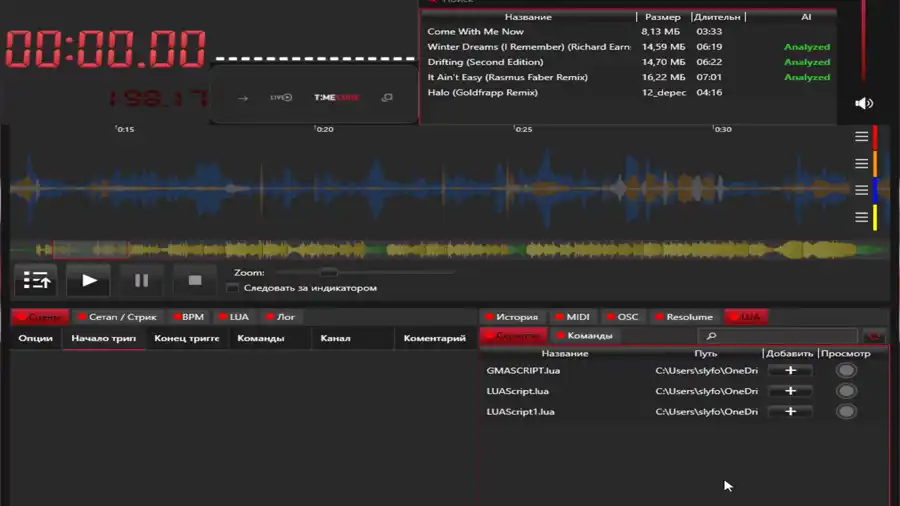
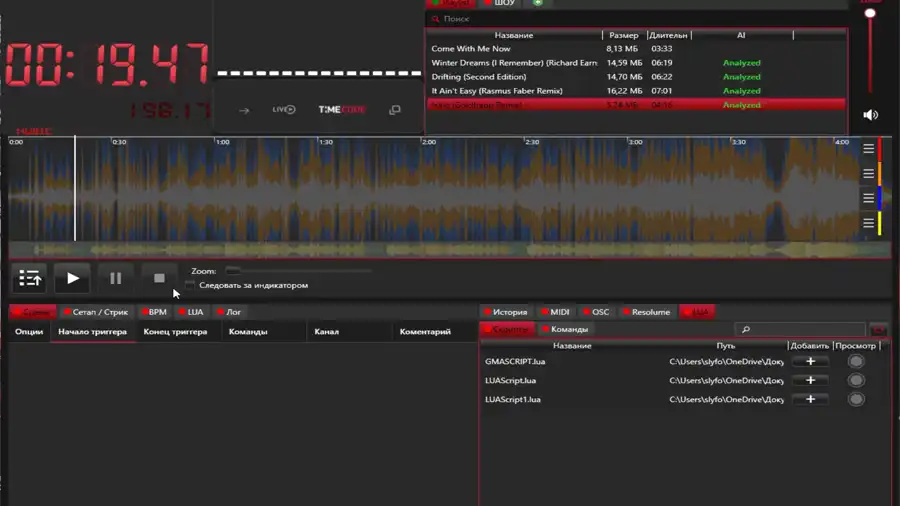
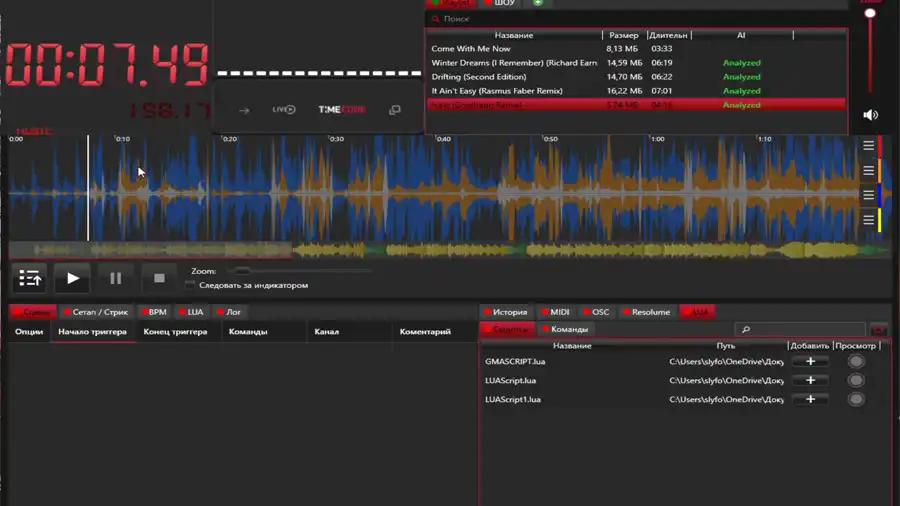
DOCS / Configure interface
Workspace

Interface Setup

A complete guide to managing waveforms, navigation, layers, and analysis tools in ShowTimePlayer.

Visualization

Waveform Types and Customization

You can adapt the waveform appearance to your specific needs using the context menu (Right-Click).

  • Display Modes Right-click on the waveform to switch between modes:
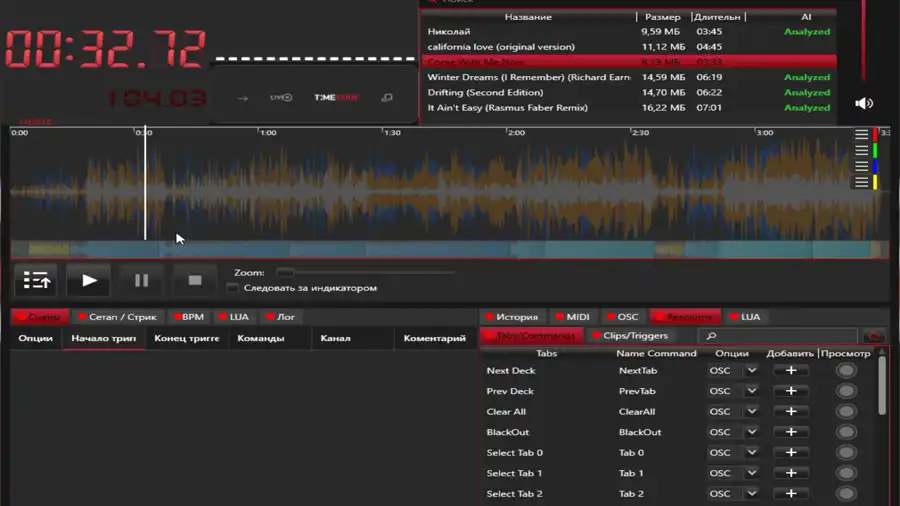
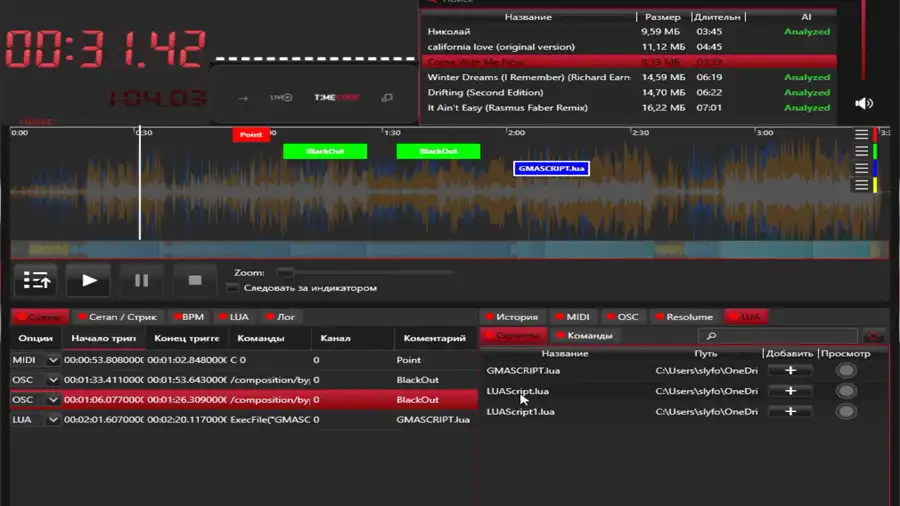
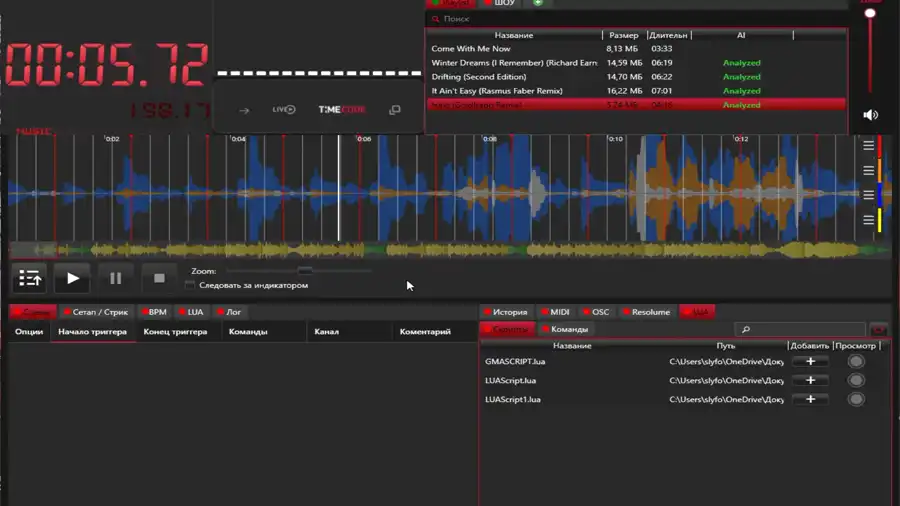
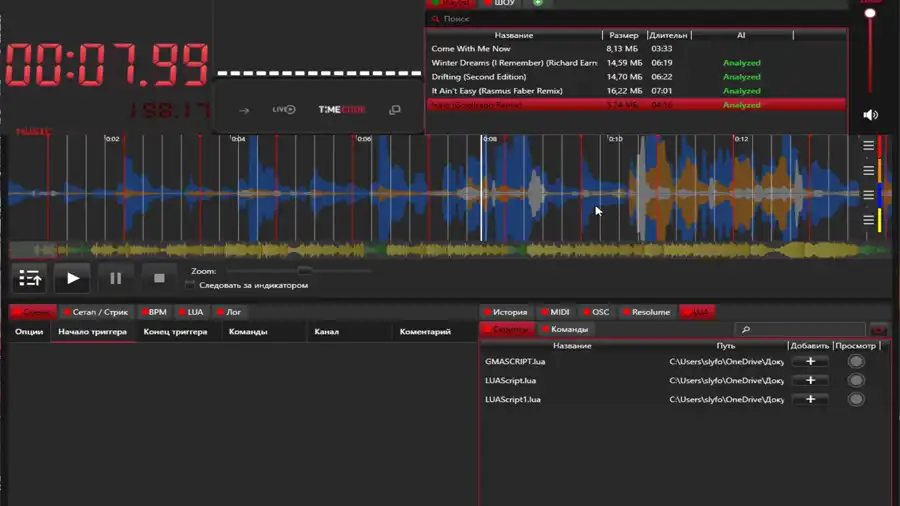
    Main Waveform: Classic view showing overall volume.
    Spectrum (FFT): Separates audio into 3 frequency bands.
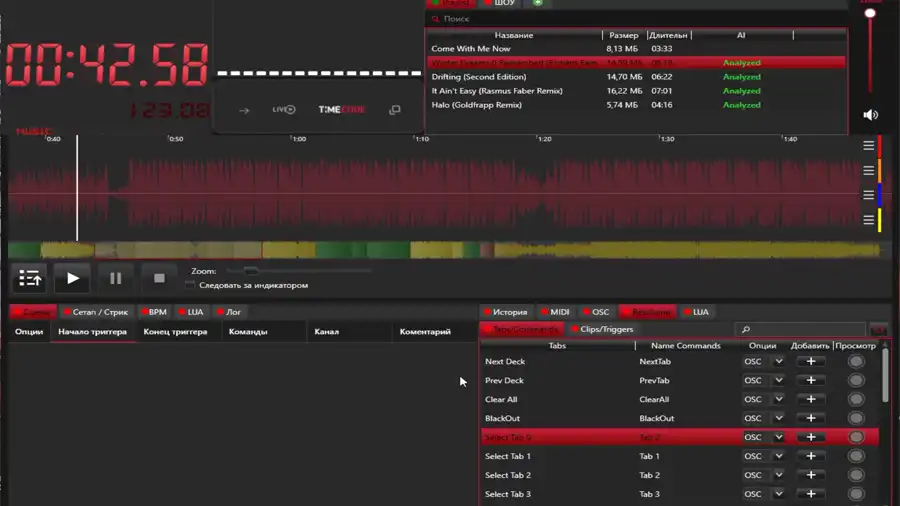
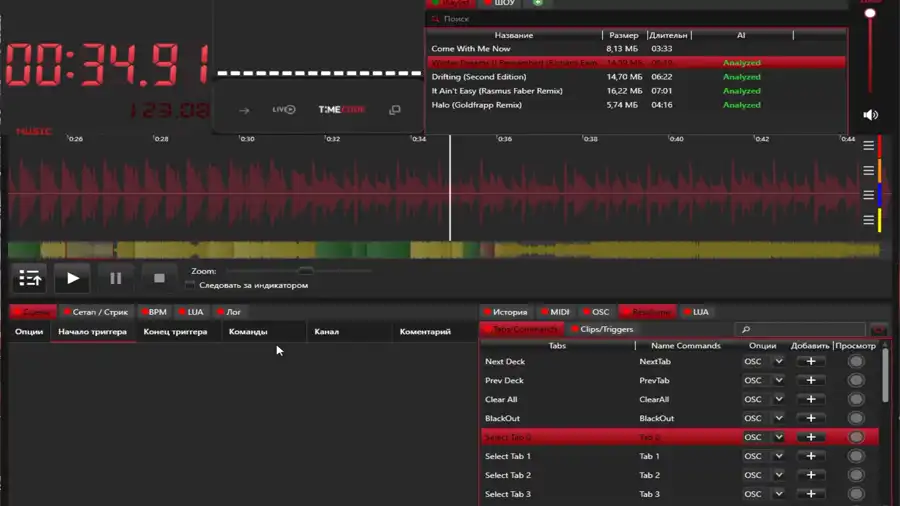
    AI Structure: Highlights strong beats and track sections (verse, chorus).
  • Detailed Settings In the same menu, you can control the waveform opacity and size to make trigger markers more visible.
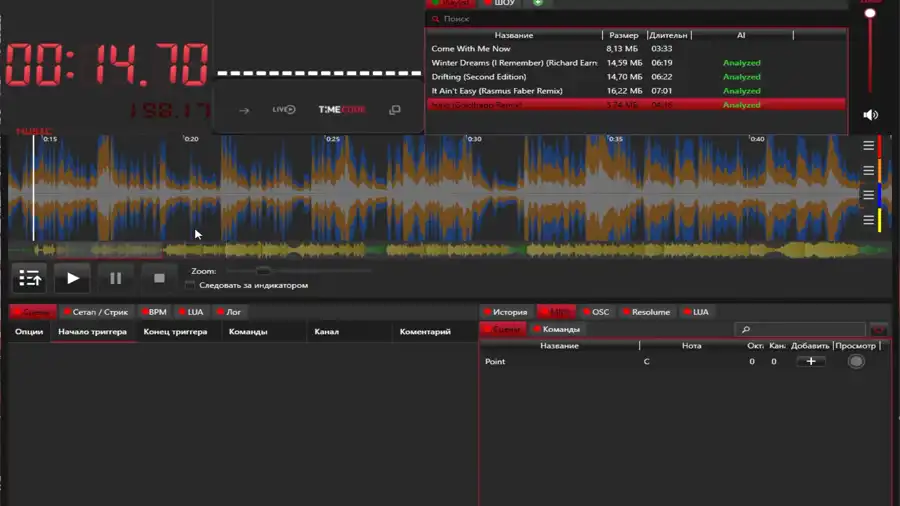
  • Frequency Ranges You can set individual color, size, and opacity for Low, Mid, and High frequencies. For example, increase the size of High frequencies to better see hi-hats and cymbals.
Waveform types
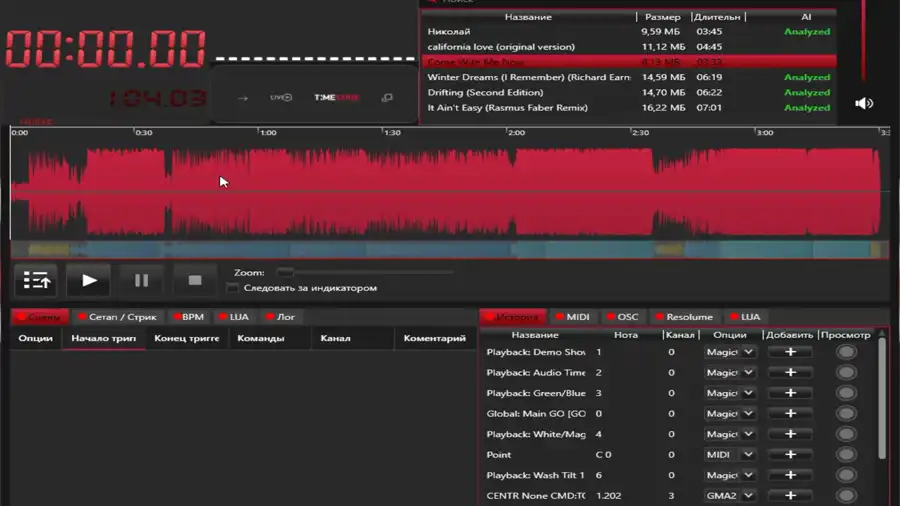
Fig 1. Waveform type selection menu
Transparency settings
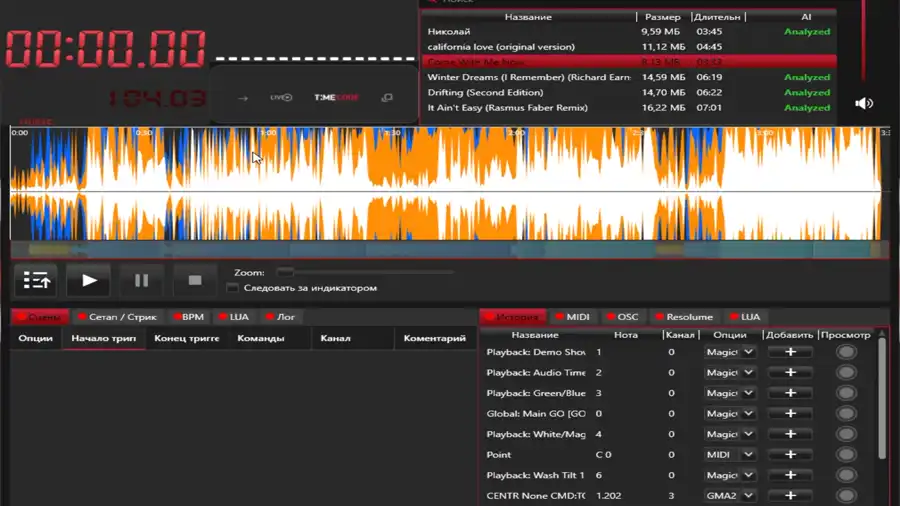
Fig 2. Managing size and visibility
Frequency colors
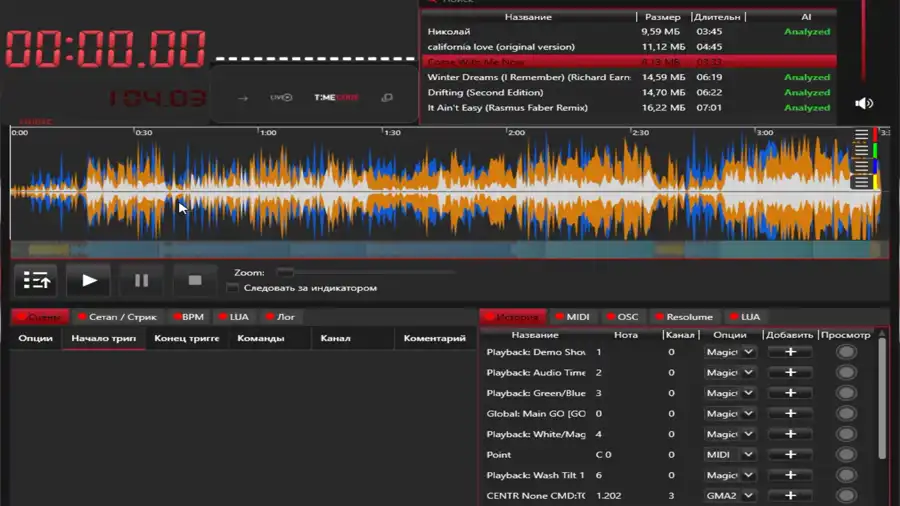
Fig 3. Color settings by frequency
Controls

Navigation and Playback

Fast navigation within the project is key to an efficient workflow. Use hotkeys and the control panel.

  • HotkeysCTRL + Scroll Wheel: Scroll through the track (left/right).
    ALT + Scroll Wheel: Zoom In / Zoom Out.
  • Playback Panel Located at the bottom of the screen. It contains buttons for adding a track (+), Play, Pause, and Stop.
  • Zoom and Follow Use the Zoom slider for smooth scaling. The "Follow" checkbox locks the cursor in place while the waveform moves beneath it during playback.
Navigation
Fig 4. Fast navigation with keyboard
Player panel
Fig 5. Playback and Zoom panel
Tools

Triggers and Layers

The core work with lighting accents happens through the system of triggers and layers.

  • Working with Triggers Select a trigger from the toolbar and press (+) to add it to the waveform.
    Move: Drag by the center.
    Resize: Drag the edges (zones indicated by white dashed lines).
    Copy: Standard copy/paste functions work here as well.
  • Layer Settings To the right of the waveform is the Layers panel. You can change their size, color, and opacity. To reorder layers, simply drag and drop them up or down.
Triggers
Fig 6. Adding and editing triggers
Layers
Fig 7. Layer management
AI Analysis

Stem Separation

ShowTimePlayer uses Artificial Intelligence to analyze the track and separate it into instruments. This is critical for placing markers with precision.

Performance With a modern graphics card (GPU), analysis happens almost instantly. On older hardware, analysis is performed by the CPU, which takes significantly longer.
AI Analysis
Fig 8. AI Track Analysis Process
  • Instrument Groups After analysis, buttons appear on the left: MUSIC, BASS, DRUMS, VOCAL, OTHER. Clicking them switches the displayed waveform.
  • Why is this needed? In a dense mix, instruments often overlap. By isolating the DRUMS or BASS layer, you can place a marker exactly on the kick drum hit.
  • Important Note Triggers are always added to the main track timeline (MUSIC), regardless of which Stem you are currently viewing. Stems are strictly for visual convenience.
Stem buttons
Fig 9. Stem switching panel
Stem view
Fig 10. Detailed instrument view
Precision

BPM Grid and Magnet

For perfect rhythmic synchronization, utilize the musical grid system.

  • Enabling the Grid Right-click on the waveform and select "Show BPM Grid". You can change the division interval (1/8, 1/16, 1/32, etc.).
  • Phase Correction If the grid does not align with the start of the beat: hold CTRL + Right Click and drag the grid left or right to align the first beat.
  • Magnet Function Enable the Magnet in the menu to have triggers automatically "snap" to each other vertically and horizontally, as well as snap to the grid lines.
BPM Grid
Fig 11. Grid display
Grid shift
Fig 12. Manual grid phase correction
Magnet
Fig 13. Magnet snapping function