
How to use the generator
Learn how to properly prepare the fixture manual and upload it to the neural network to get the perfect profile.
1. Preparation and Data Upload
You don't need a perfect electronic document. Thanks to optical character recognition (OCR), the neural network can read data from photos and screenshots. Choose the format that suits you best:
📄 PDF Document
Upload the official manual from the manufacturer. The AI will find pages with DMX tables on its own and ignore technical noise. *Recommended for smaller files.
📸 Photo of the Manual
You can take several photos of the paper manual with your phone or screenshots of the table from your screen (JPG/PNG format). Select all the photos you took at once and click upload (no more than 11 photos!). This is one of the most reliable ways to avoid encoding errors. See advanced photo tips below.
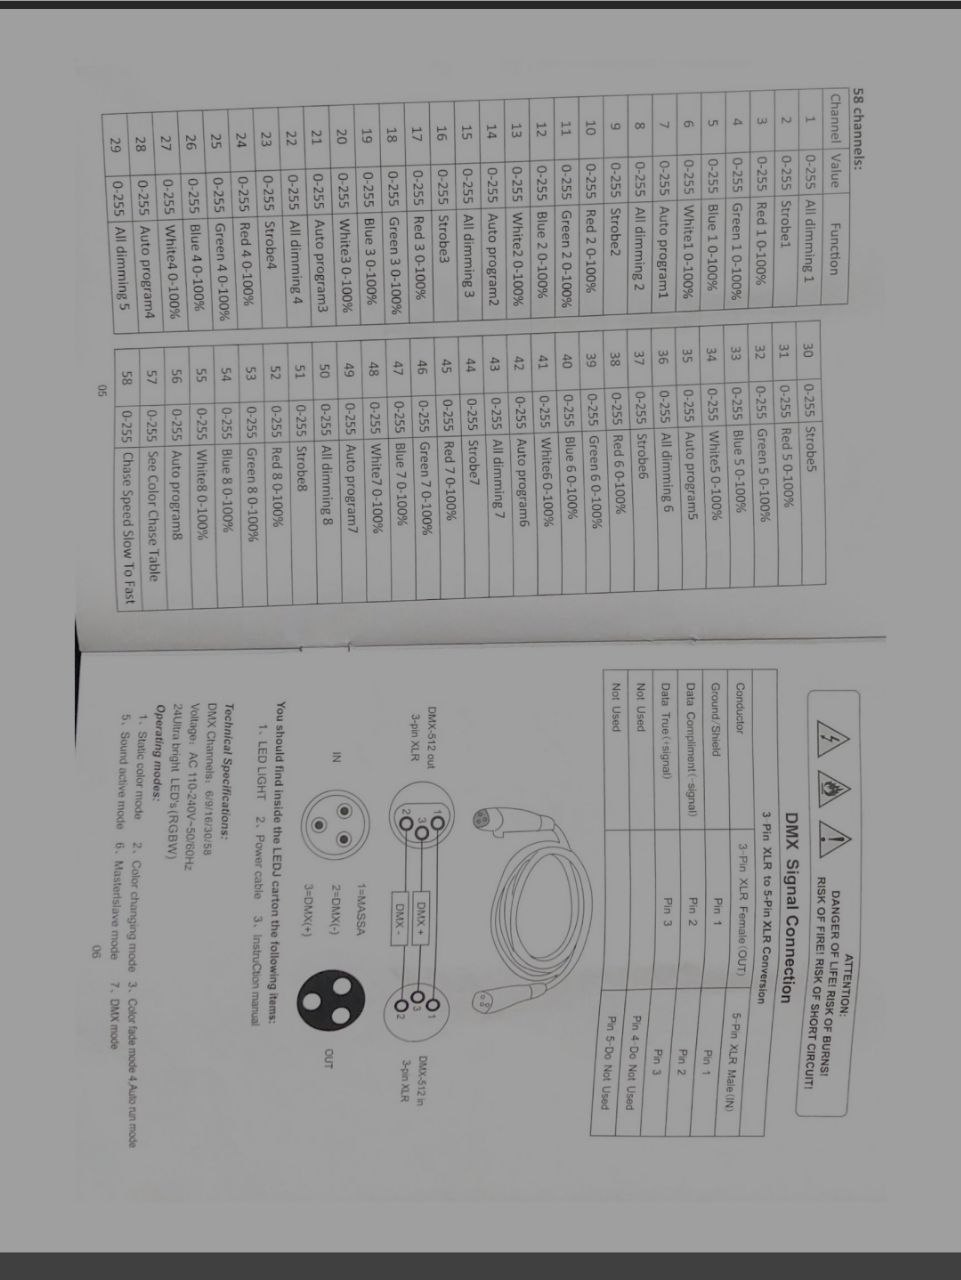
Fig 1. Example of an uploaded photo
📝 Text File (TXT)
Copy the channel description from the manufacturer's website and paste it into a plain text file (TXT). The neural network will analyze unstructured text and build the correct logic out of it.
📸 Advanced Image Tips (Lifehacks)
Lifehack 1: Adding Your Own Notes (Handwriting)
Feel free to supplement the manual with your own notes! Very often, fixture creators simply write "Color 1, Color 2, Color 3..." in the manual. If you know the actual color sequence, you can write the correct colors directly on the screenshot (or by hand on paper), as shown in the photo below. The neural network will read your text perfectly and correctly recognize the colors.
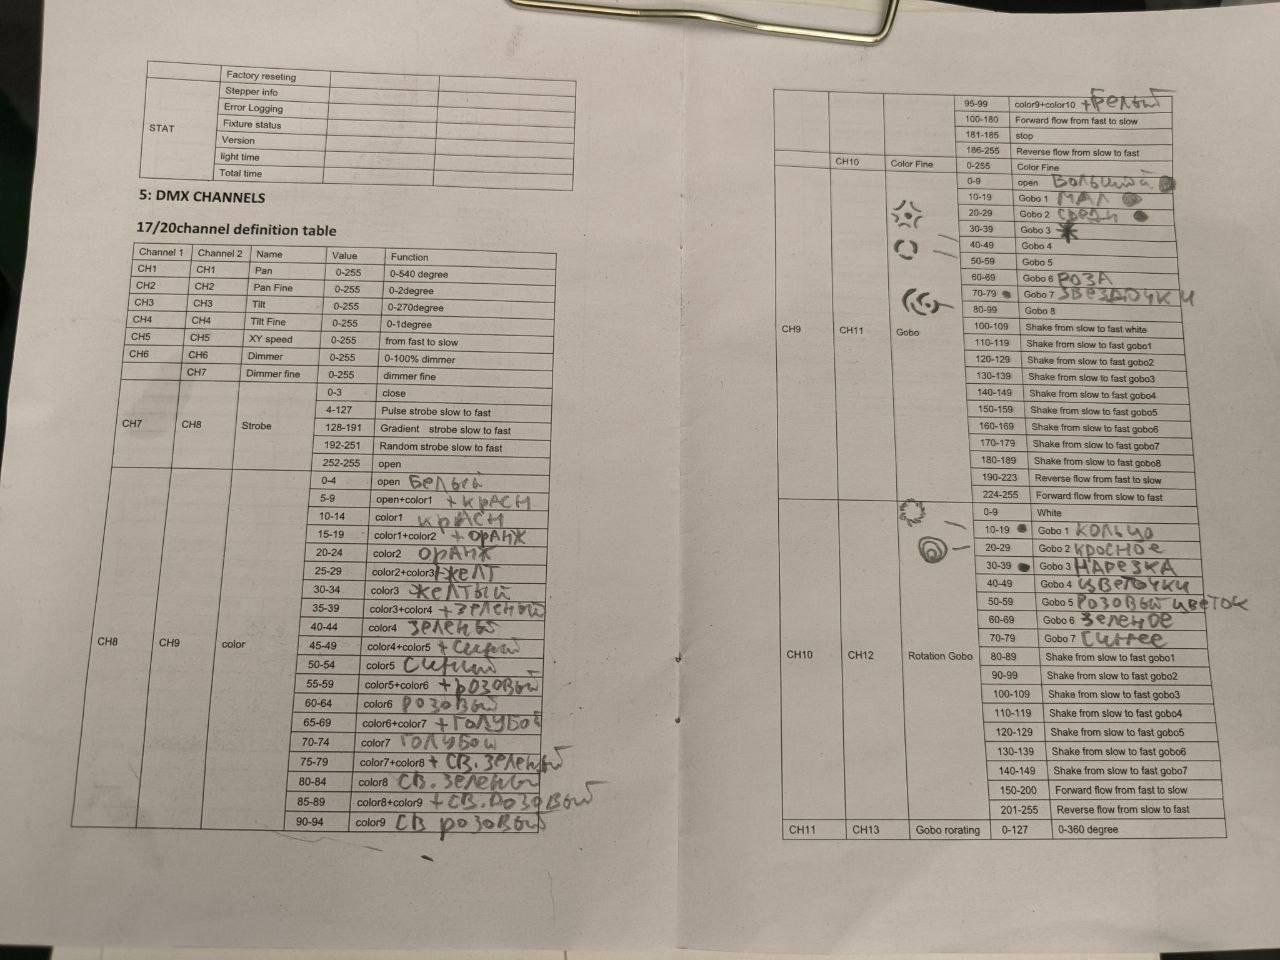
Added colors (figure 1)
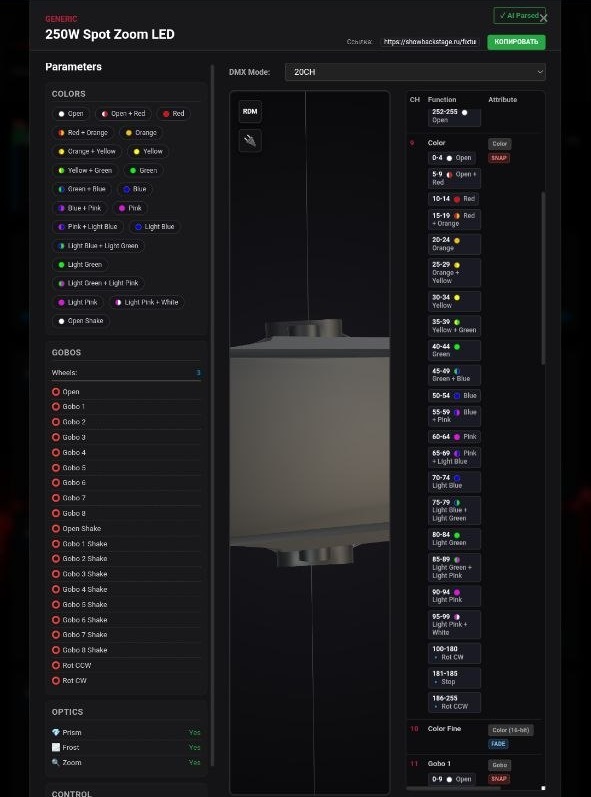
Excellent generation result with colors! (figure 2 generation result of figure 1)
Lifehack 2: If There is No Manual At All
If you don't have a paper manual, you can check all the channels on the fixture's screen itself (in its settings). Take a photo of these screens and send them for analysis.
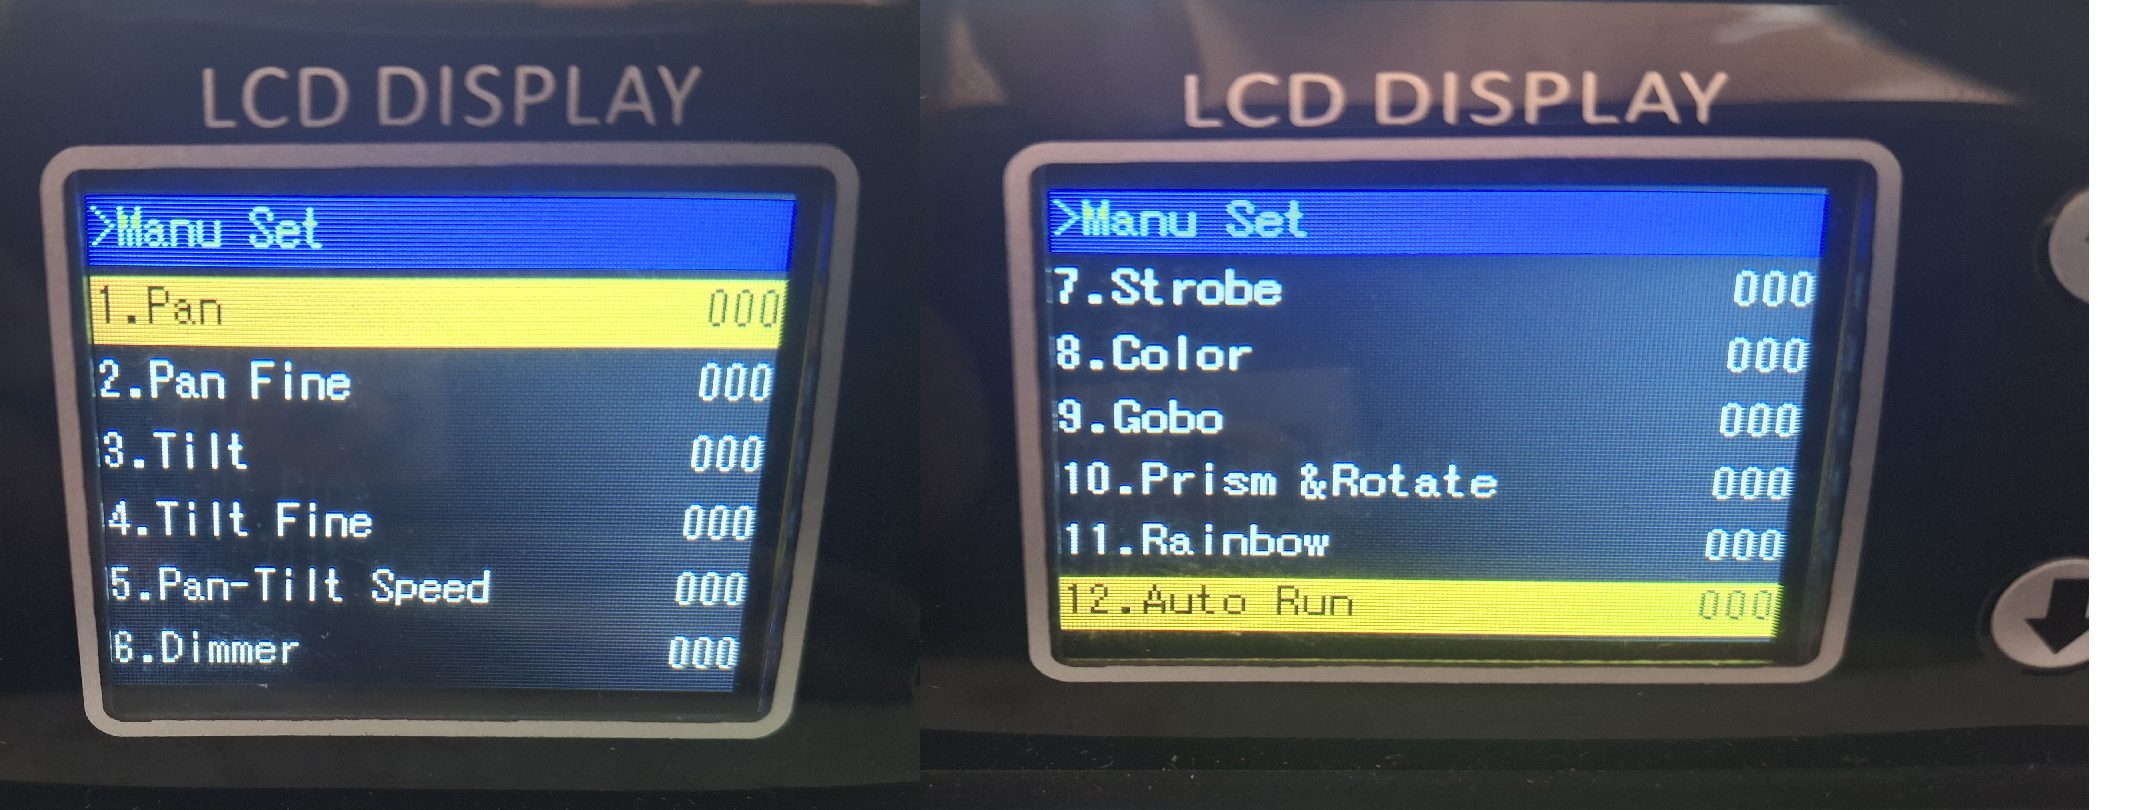
Photo of channels straight from the menu screen
Lifehack 3: Transferring a Fixture from Another Console
Also, if you know that another console has the fixture you need, you can take a photo of the channels from that console to convert it into a profile for another console and/or program.
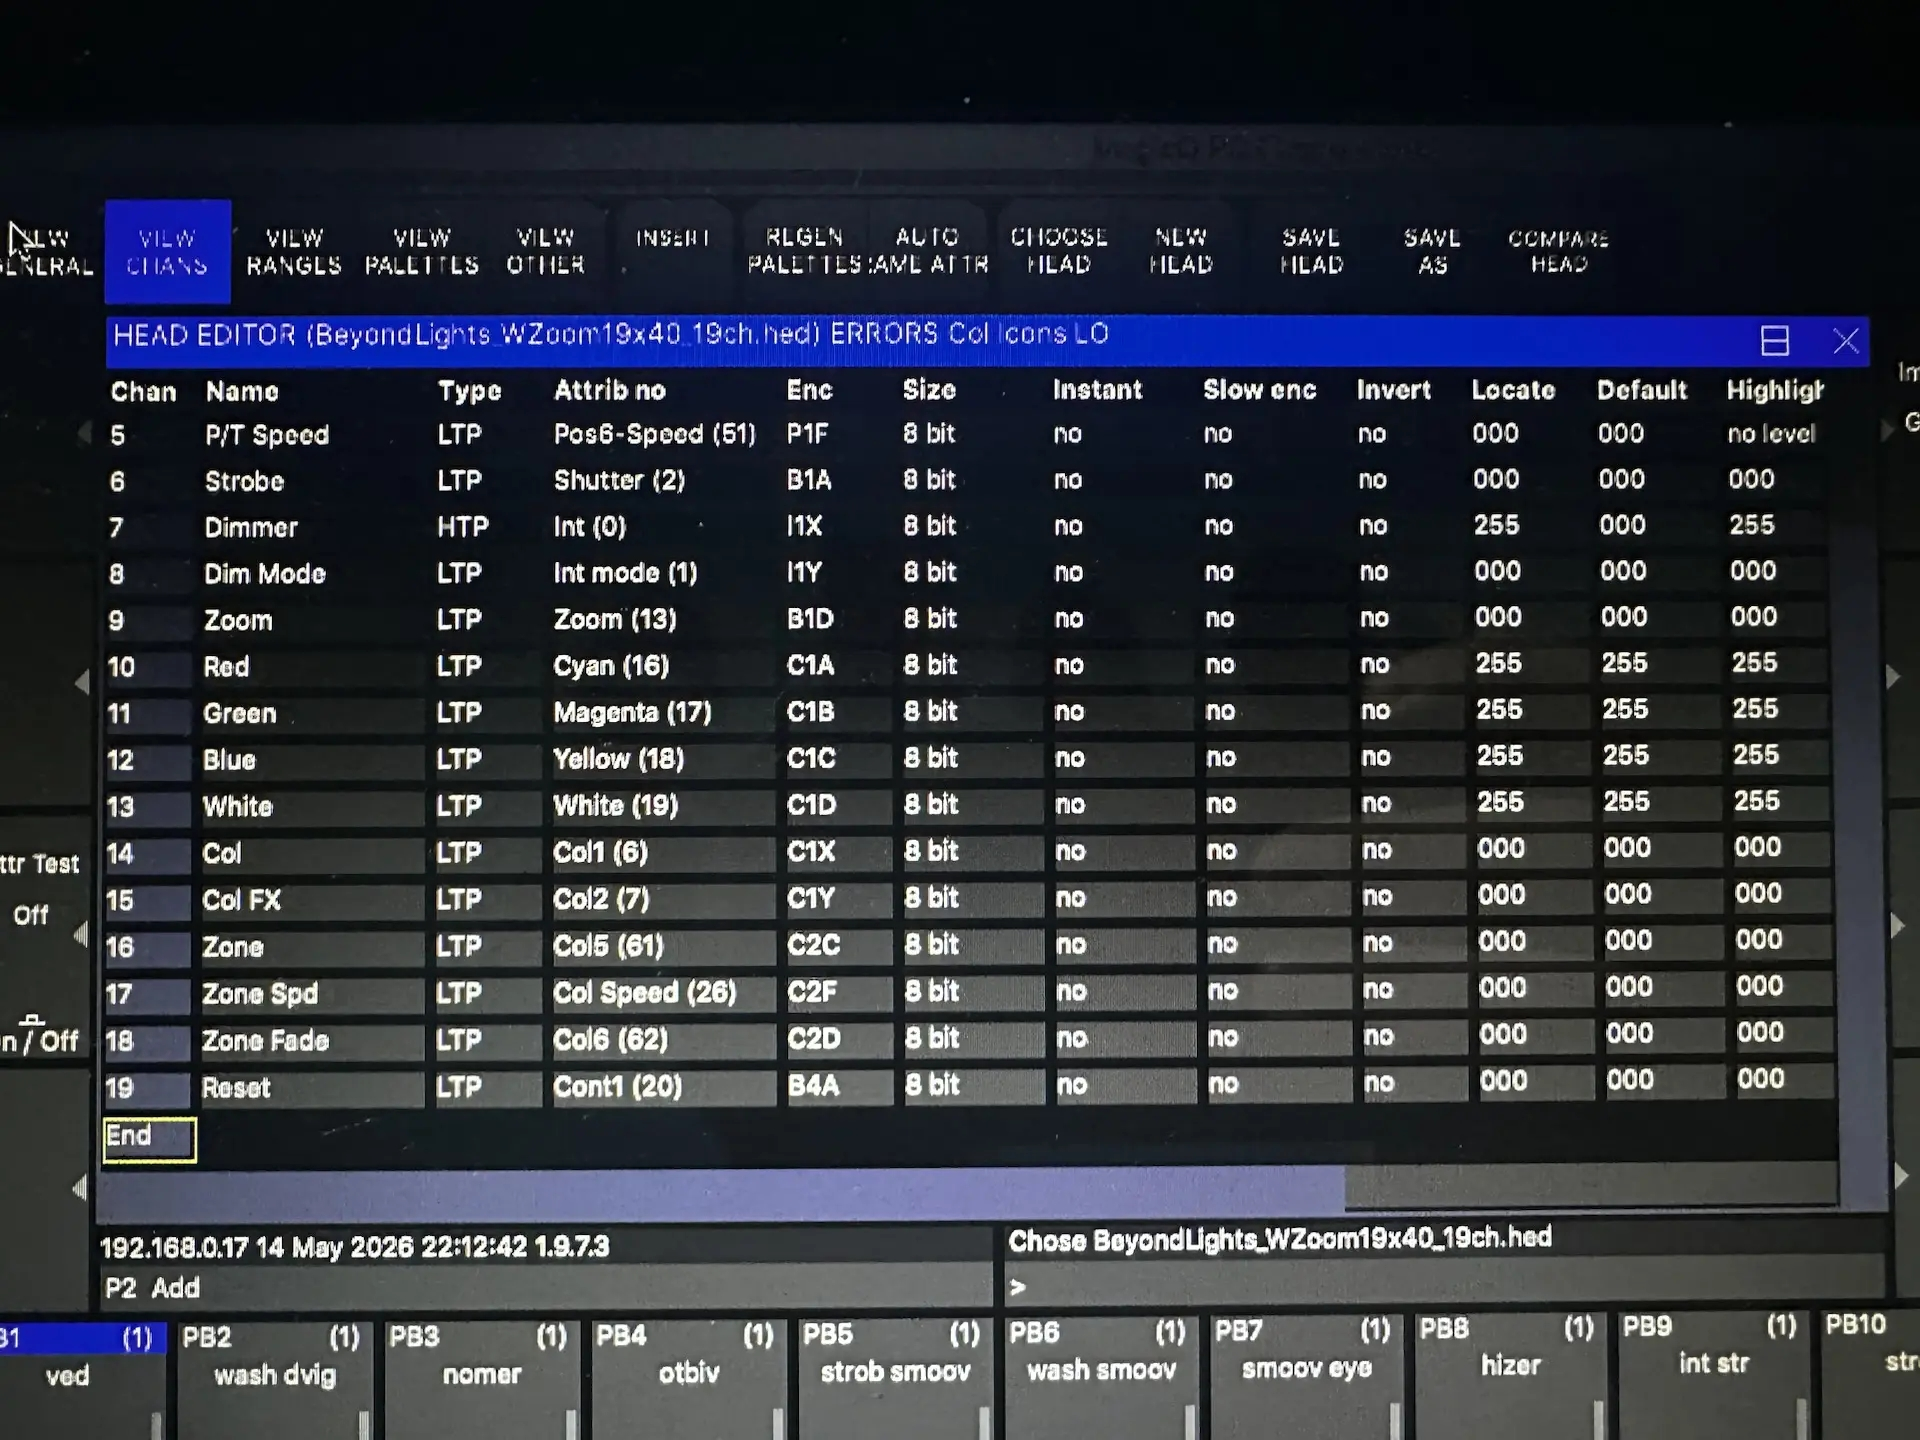
Photo of channels from another console
🚫 What NOT to Do!
Do not just send a photo of the fixture with its name — that doesn't work! Don't send photos of the casing, QR links, or stickers. You must always provide an image with text names and DMX channel definitions.
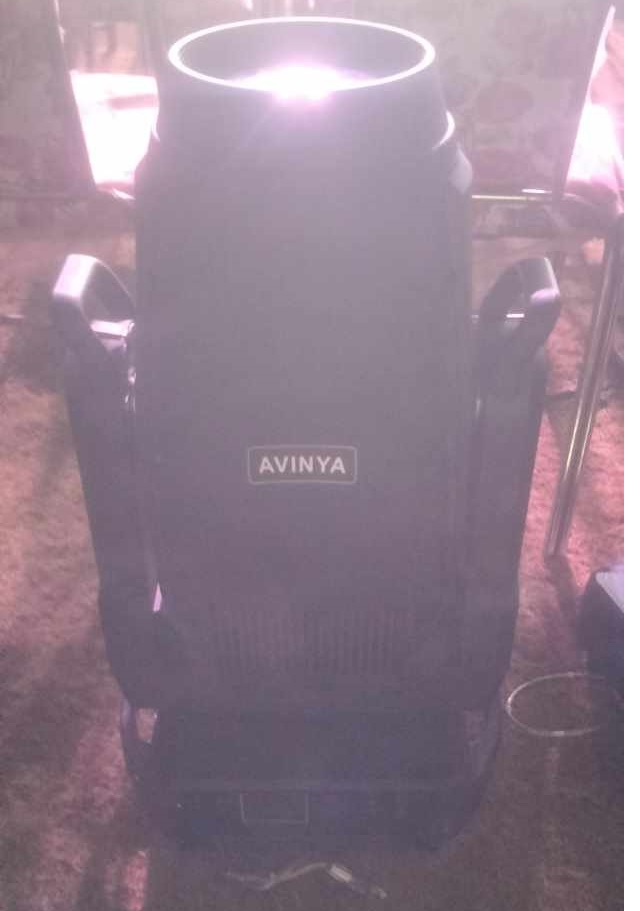
Do not do this
2. Analysis and Generation
Right after the file is uploaded, the neural network will begin processing the data. Depending on the document size, this can take from a few seconds to a minute.
Important: If the system encounters a complex structure or a protected encoding during PDF processing, the generation may fail. In this case, proceed to the FAQ section below.
Still Have Technical Questions?
If you encountered an unusual error or the neural network incorrectly recognized your fixture, contact our support team.
Ask a question on Telegram